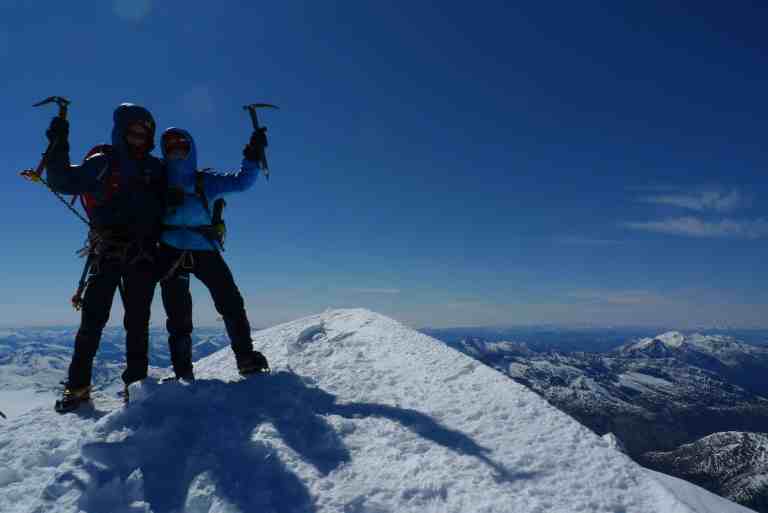
What to Pack for a New Zealand Mountaineering Course
Planning and Preparation for Mountaineering Courses
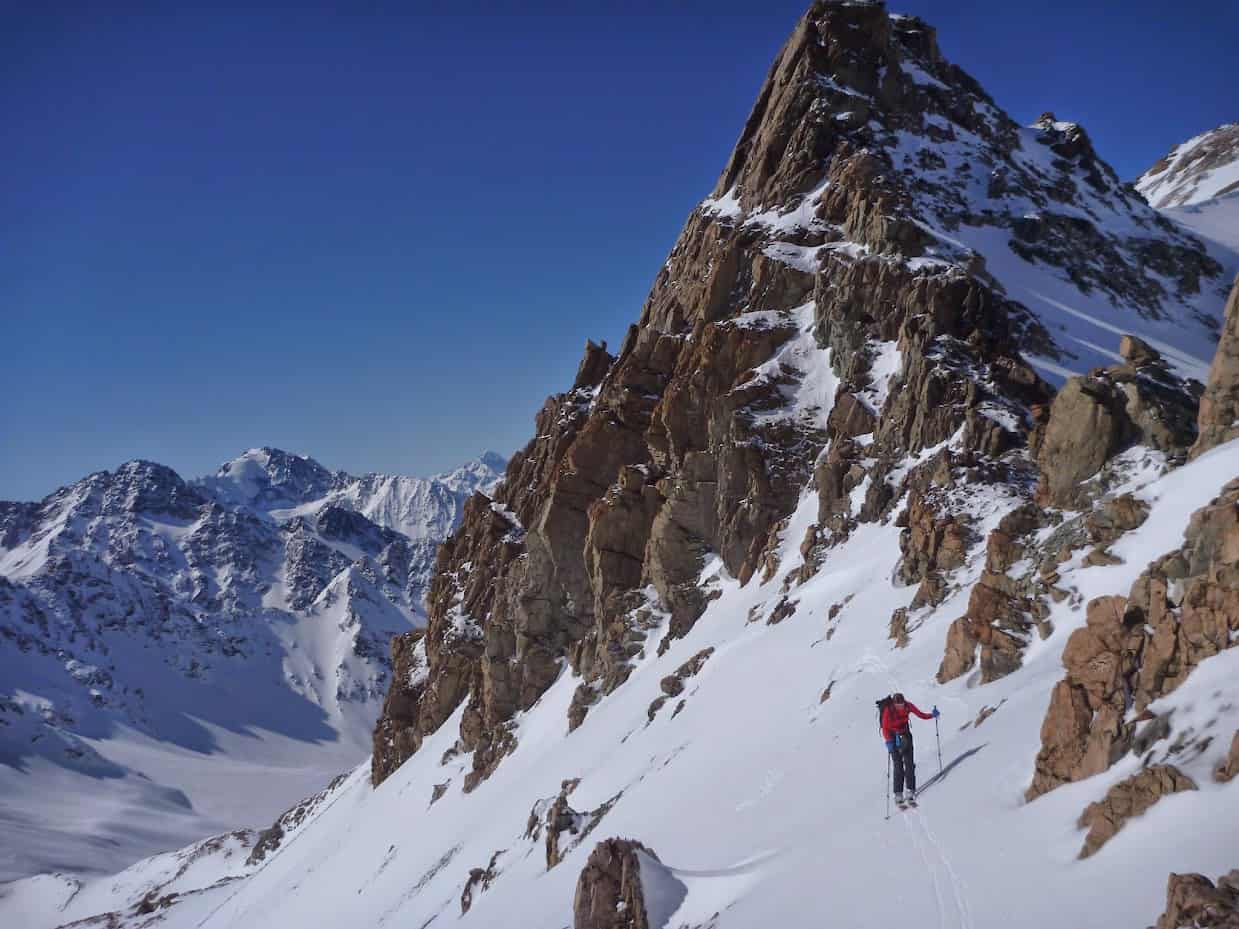
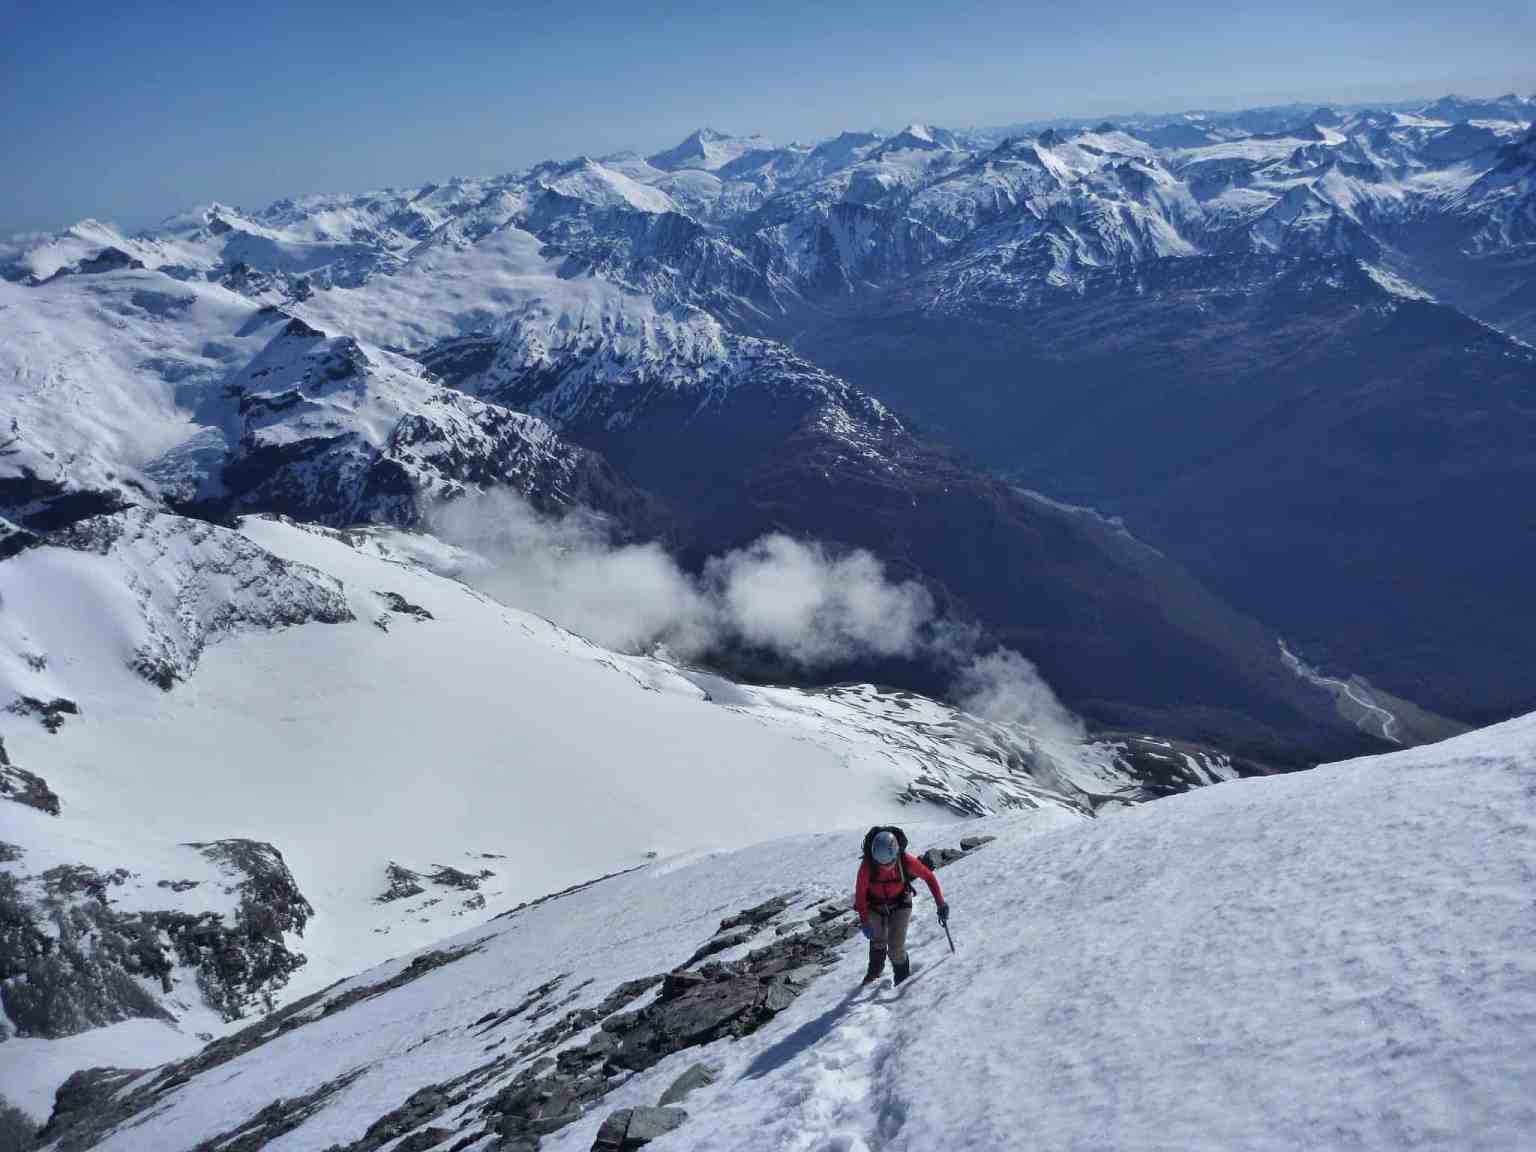
Any mountain trip requires careful consideration of the objective as well as the variable weather conditions and terrain that may be encountered to develop a strategy for logistics and equipment. These are related considerations as choices on clothing and equipment systems to carry. Everything can't be carried all the time.
Quite often equipment will be a compromise between what will be best suited to the majority of likely and anticipated conditions and what will be specific to the objective. Also compromises between durability and weight. minimising weight will translate to movement efficiency. This, along with other preparation in the form of fitness and nutrition, will allow you to travel lighter, faster, further, and safer. With good research and planning, you will be able to make good decisions to adjust what you are carrying to a particular objective, with some provision for emergency preparedness.Lightweight items of equipment often severely compromise functionality and durability. There is often also a cost premium associated with lightweight equipment. Large, obvious items often provide the most opportunity for weight saving. Weight can be diligently shaved from every piece of equipment, from wire gate carabiniers to polystyrene helmets, but won’t have as big of an impact.
Don't obsess over the weight of a single carabiner until you’ve optimised your Pack, Sleeping Bag, and Boots
Technical Clothing for the Southern Alps

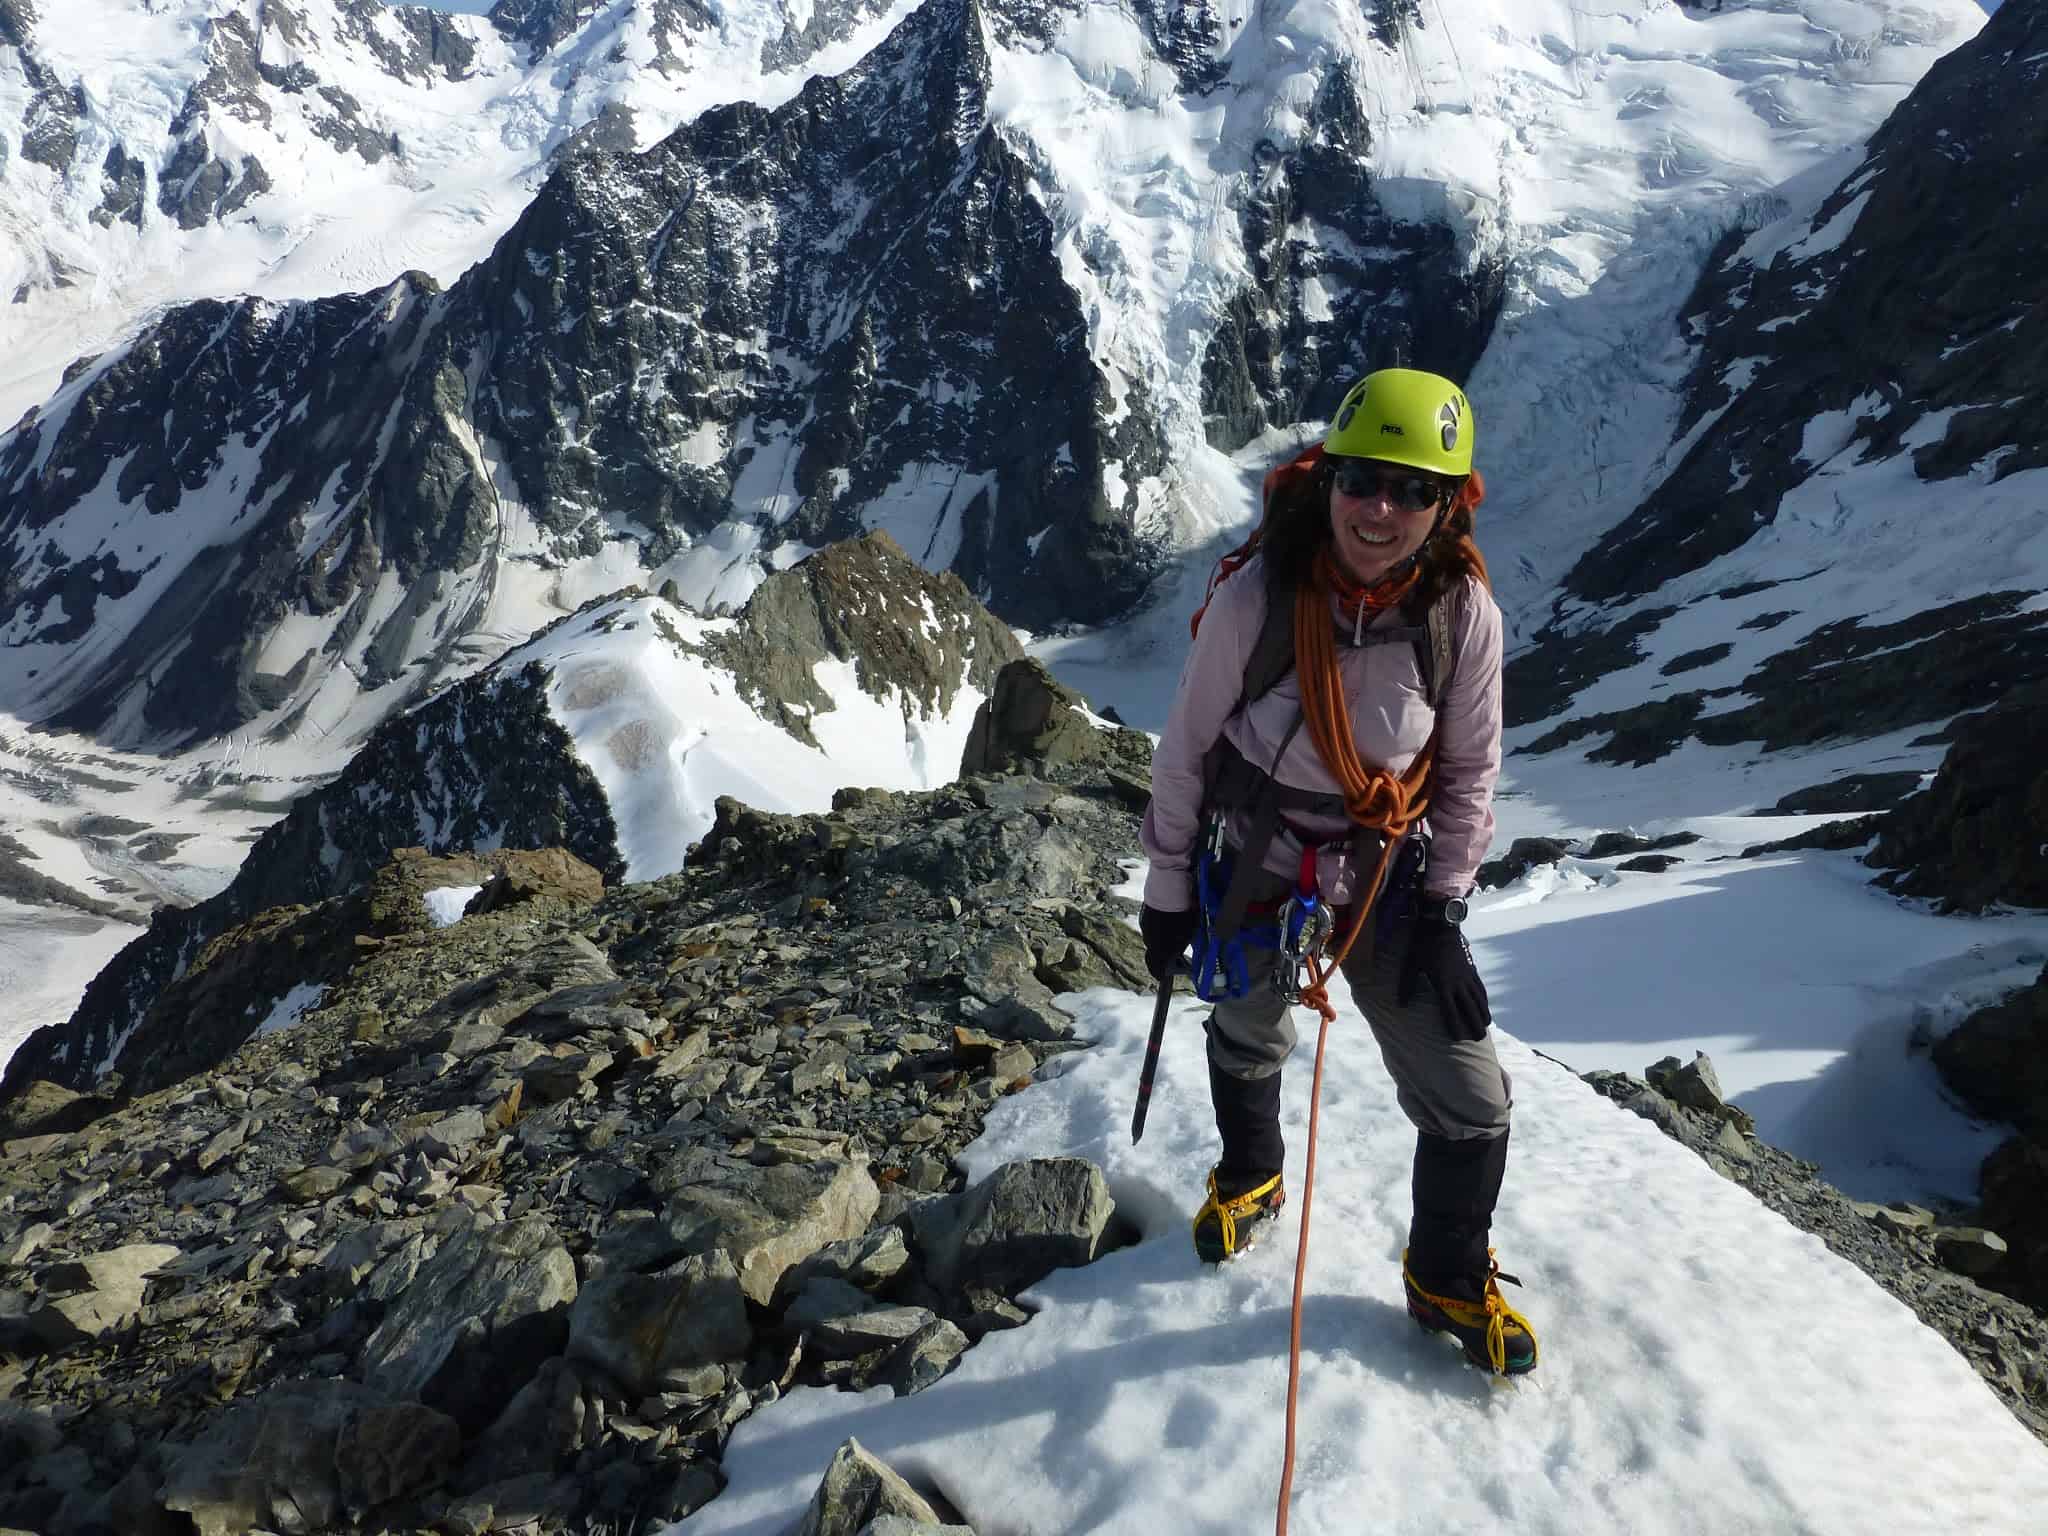
Upper-body layering systems
Remember that conditions can change rapidly in mountainous environments, so it's essential to be prepared for a range of weather scenarios, even in the summer. Dressing in layers allows you to adjust to changing conditions and levels of activity. You can add or remove clothing as needed to regulate temperature. Overheating and sweating makes clothing wet which can conduct heat away much faster than dry clothing. When stopped, evaporation can also lead to rapid cooling. It also promotes dehydration, which reduces performance, increases fatigue, and impairs cognitive processes.
The benefits of layering clothing outdoors are well known. The traditional approach of having a base layer next to the skin, a mid-layer for insulation and an outer layer for weather protection assumes that conditions and level of activity will remain relatively constant during the course of the day. With mountaineering, this is far from the case and an alternative layering approach is often preferred. For an mountain layering system, the outer-layer is the one which is anticipated to be used for the majority of the day. This takes into account the required proofness and level of activity. Waterproofness is not as important unless the trip entails spending lots of time out in the rain.

The key is staying comfortable and being able to adjust body temperature without stopping too often to take on and off layers, especially those underneath the outer-layer. As conditions change during the day, and to avoid time spent stopping to remove layers, features to quickly adjust temperature are useful. These include zips, as well as being set up to change between different weights of gloves or beanies.
An over-layer allows a quick adjustment to add additional insulation or weather proofness for shorter duration of the day, such as cold, pre-dawn starts, breaks, belays or passing showers. This will generally be slightly oversized to fit over the outer-layer and with a full-length zip for quick changes. As this layer is an occasional item, durability isn't as important but weight and packability is; it will spend plenty of time in the backpack.
Base-layers should be moisture-wicking and quick-drying. Long sleeve is important for sun protection. Merino is good for low-exertion activities in cold and dry climates, but synthetic material a quicker drying and so better for higher-exertion or stop-start activities. For summer mountaineering we choose the Rab’ Force Hoody. The hood is essential for protection from the harsh NZ sun, especially during afternoons on the glacier. It's nice to change into a dry merino once back at the hut and the evening.
Choose an "Outer-layer" that you can wear for 90% of the day. Use zips, cuffs, and hoods to regulate temperature on the fly rather than stopping the whole team to take off a jacket.
Fit and function for upper body layers is also important. Some manufacturers of technical clothing specify the fit of each garment with respect to whether it is sized as a base-layer, outer-layer or over-layer. When selecting layers to use together, avoid bulk in high movement areas (like arms) and choose materials that move well next to each other to maximise your freedom of movement. For example, fleece tends to grab against other fleece layers, but finely woven nylons slide well over fleeces.
Hoods are a great way of regulating temperature, but too many can get congested around the neck and head. Under-helmet hoods are best reserved for mid layers and over-helmet hoods work best for outer and over layers. Good insulation around the wrists, where the blood vessels are close to the surface, will help keep your hands warm, but too many tight cuffs will be uncomfortable. Wide velcro-adjustable cuffs are good for overs layers and work well with bigger outer gloves.
Lower-body
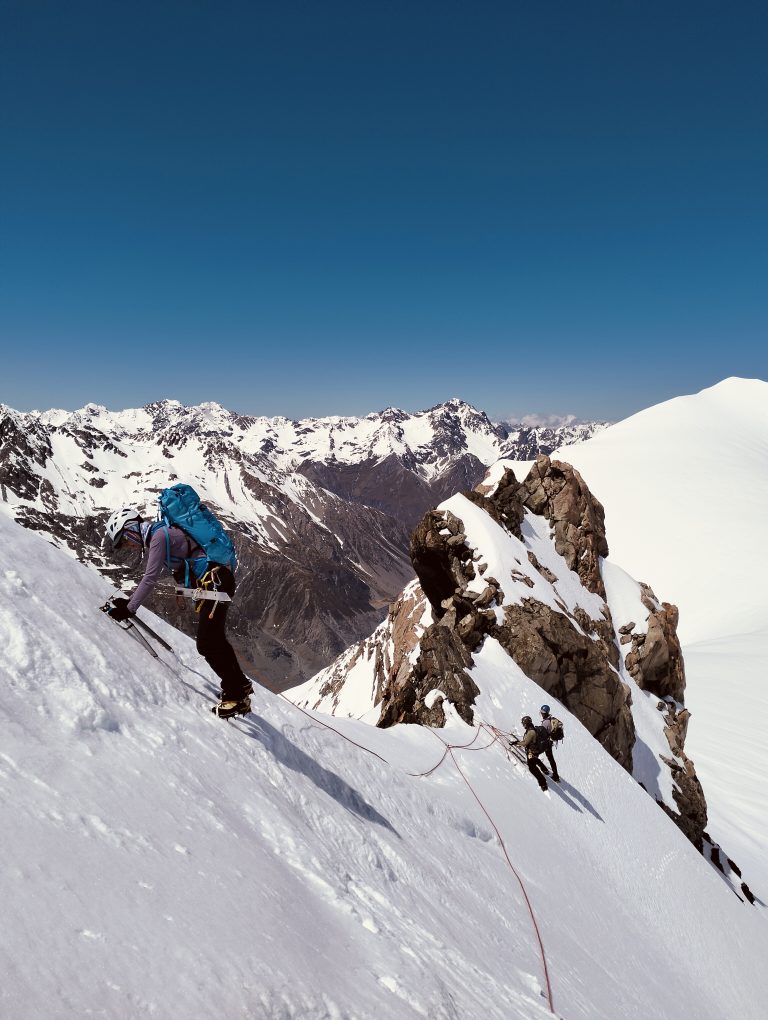
The outer-layer for most mountaineering activities will be a relatively lightweight softshell trouser. These can be layered over thermal leggings for colder days. Mountaineers will often make a leg layer choice at the start of the day and stick with it.
Conditions can change rapidly in mountainous, so overpants with full-length zips should be considered. The zips allow you to put them on and off without removing crampons. These don't need to be too heavy-weight as they will likely spend most of the time at the bottom of the backpack.
In New Zealand, we say "four seasons in one day." Even on a summer course, you must be able to transition from a sun-baked glacier to a freezing southerly front in under two minutes. Practice your layering transitions at home before you arrive!
Boots for NZ Mountaineering
During the classic mountaineering season, for climbing on steep snow and technical ice and mixed, a fully rigid (full shank) mountaineering boot is required. Single boots constructed from leather or synthetic materials (some models with an integrated gaiter) are suitable for conditions encountered during winter and spring in NZ. The tried and tested stalwarts in this category are from the La Sportiva’ Nepal range.
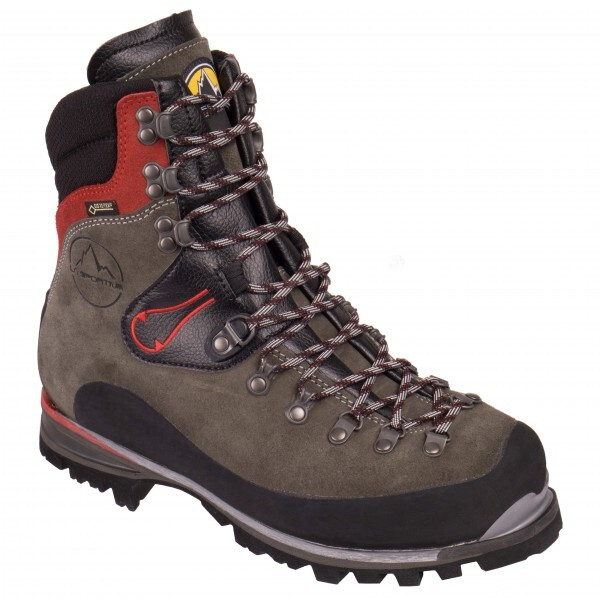
For general mountaineering, when only short sections of steep snow climbing is anticipated, then semi-rigid (3/4 shank) boots are fine. As wet snow can be encountered at any time of the year in the Southern Alps, a 2-3 season boot performs best and a leather or suede upper will generally resist wet snow for longer. We recommend either the La Sportiva Karakorum or Scarpa’ Manta Tech.

Both 3/4 and full shank boots aren't as comfortable for long walk-ins and outs, and most people would use a lightweight approach shoe or trainer and carry their boots to the snowline. Whereas traditional Kiwi trampers will often cross rivers in their boots and get used to the perpetual foot dampness, heavier duty boots will take longer to dry. When climbing up above the snow line, damp boots will make it harder to keep your feet warm and climbers have suffered cold injuries as a result. Using the lightweight approach shoes for these river crossings also helps keeps the mountaineering boots dry.
For late summer and scrambling, a lightweight synthetic boot such as the La Sportiva’ Trango or more modern Aequilibrium will excel. Though deep wet snow, will eventually seep into these boots, they are quick to dry and they are also light and comfortable for long approaches and alpine trekking.
Match your boot stiffness to the month, not just the mountain. Nov/Dec (Spring/Early Summer): You need a Full-shank (rigid) boot (e.g., La Sportiva Nepal) because you'll be front-pointing on steep, hard snow and ice. Jan/Feb (Late Summer): A 3/4-shank (semi-rigid) boot (e.g., La Sportiva Trango/Karakorum) is better. It's lighter and more comfortable for long rock scrambles and walk-ins when the snow has receded.
Although many climbing trousers have integrated gaiters or gussets, traditional snow gaiters are pretty important to keep snow, rocks, and debris out of your boots. During times when you are likely to be travelling through deep, wet snow, such as returning to the hut in the middle of the day after an alpine start, gaiters are vital for stopping snow getting into the boot and keeping boots as dry as possible. For approaches, they also offer some protection from spiky scrubs (Speargrass, you'll know when you've come across it), damp morning grass, and even shallow river crossings.
Accesories
Backpack
Backpacks for mountaineering and alpine climbing should be simple and lightweight. Size is important - not too big as it will not be ideal for climbing in, not too small or it won’t have enough capacity for all the equipment required for walk-in objectives. Consider designs with removable waist straps, frames, or lids that can be stripped off for the summit. When flying in, a separate duffle bag of equipment can be taken. For big objectives, we like the Osprey’ Mutant 52.
Gloves
You'll need need a variety of gloves for most objectives. A light-weight work glove when dexterity is important such as technical pitching or for warmer conditions such as retuning across the glacier after an alpine start. Although most outdoor brands make such a glove, a cheaper hardware store gloves will often work just as well.
You'll also need something a bit warmer for colder conditions and early starts. Waterproof membrane such as Goretex’ add complexity and cost to glove construction so isn't always necessary but dexterity is important, especially when ropes are involved. Also, look for something with a leather palm for grip and longevity as leather can be re-proofed with a Nikwax’ type wax product. If you are not prone to cold hands, and there is minimal ropework required, then Kinco gloves or Black Diamond’ Dirt Bag gloves are good workhorses. Otherwise, you'd need to consider something more technical such as the Rab’ Guide Lite gloves or similar from other brands.
Sun Protection
Visitors to New Zealand often underestimate the intensity of the sun. During the day, it is important to keep well covered, especially on snow when the glare and reflected light can be as intense. Category 4 sunglasses, only let in 8% of light, and are required for the extra bright conditions in the mountains. For the best protection, these are a good wrap-around fit with no gaps. If sunglasses aren't strong enough, there is the risk of unpleasant but temporary 'snow blindness' which is like sunburn to the eyes.
Elsewhere, mountaineers need good coverage from long sleeves, and hoods, Buffs’, wide brimmed hats, or legionnaire style caps.
A Note on Polarized Lenses: Avoid polarized sunglasses on glaciers. While they reduce glare, they can hide the "sheen" of icy patches and make it impossible to read your transceiver screen or phone in an emergency. Stick to Category 3 or 4 non-polarized wraparounds.
Water bottle
You'll need 1.5 to 2 litre carrying capacity. A bladder can be useful but doesn't always work well with a full pack. We recommend having at least one wide mouth Nalgene’ or similar. This makes it easy to fill up and can handle boiling water so doubly useful as a hot water bottle.
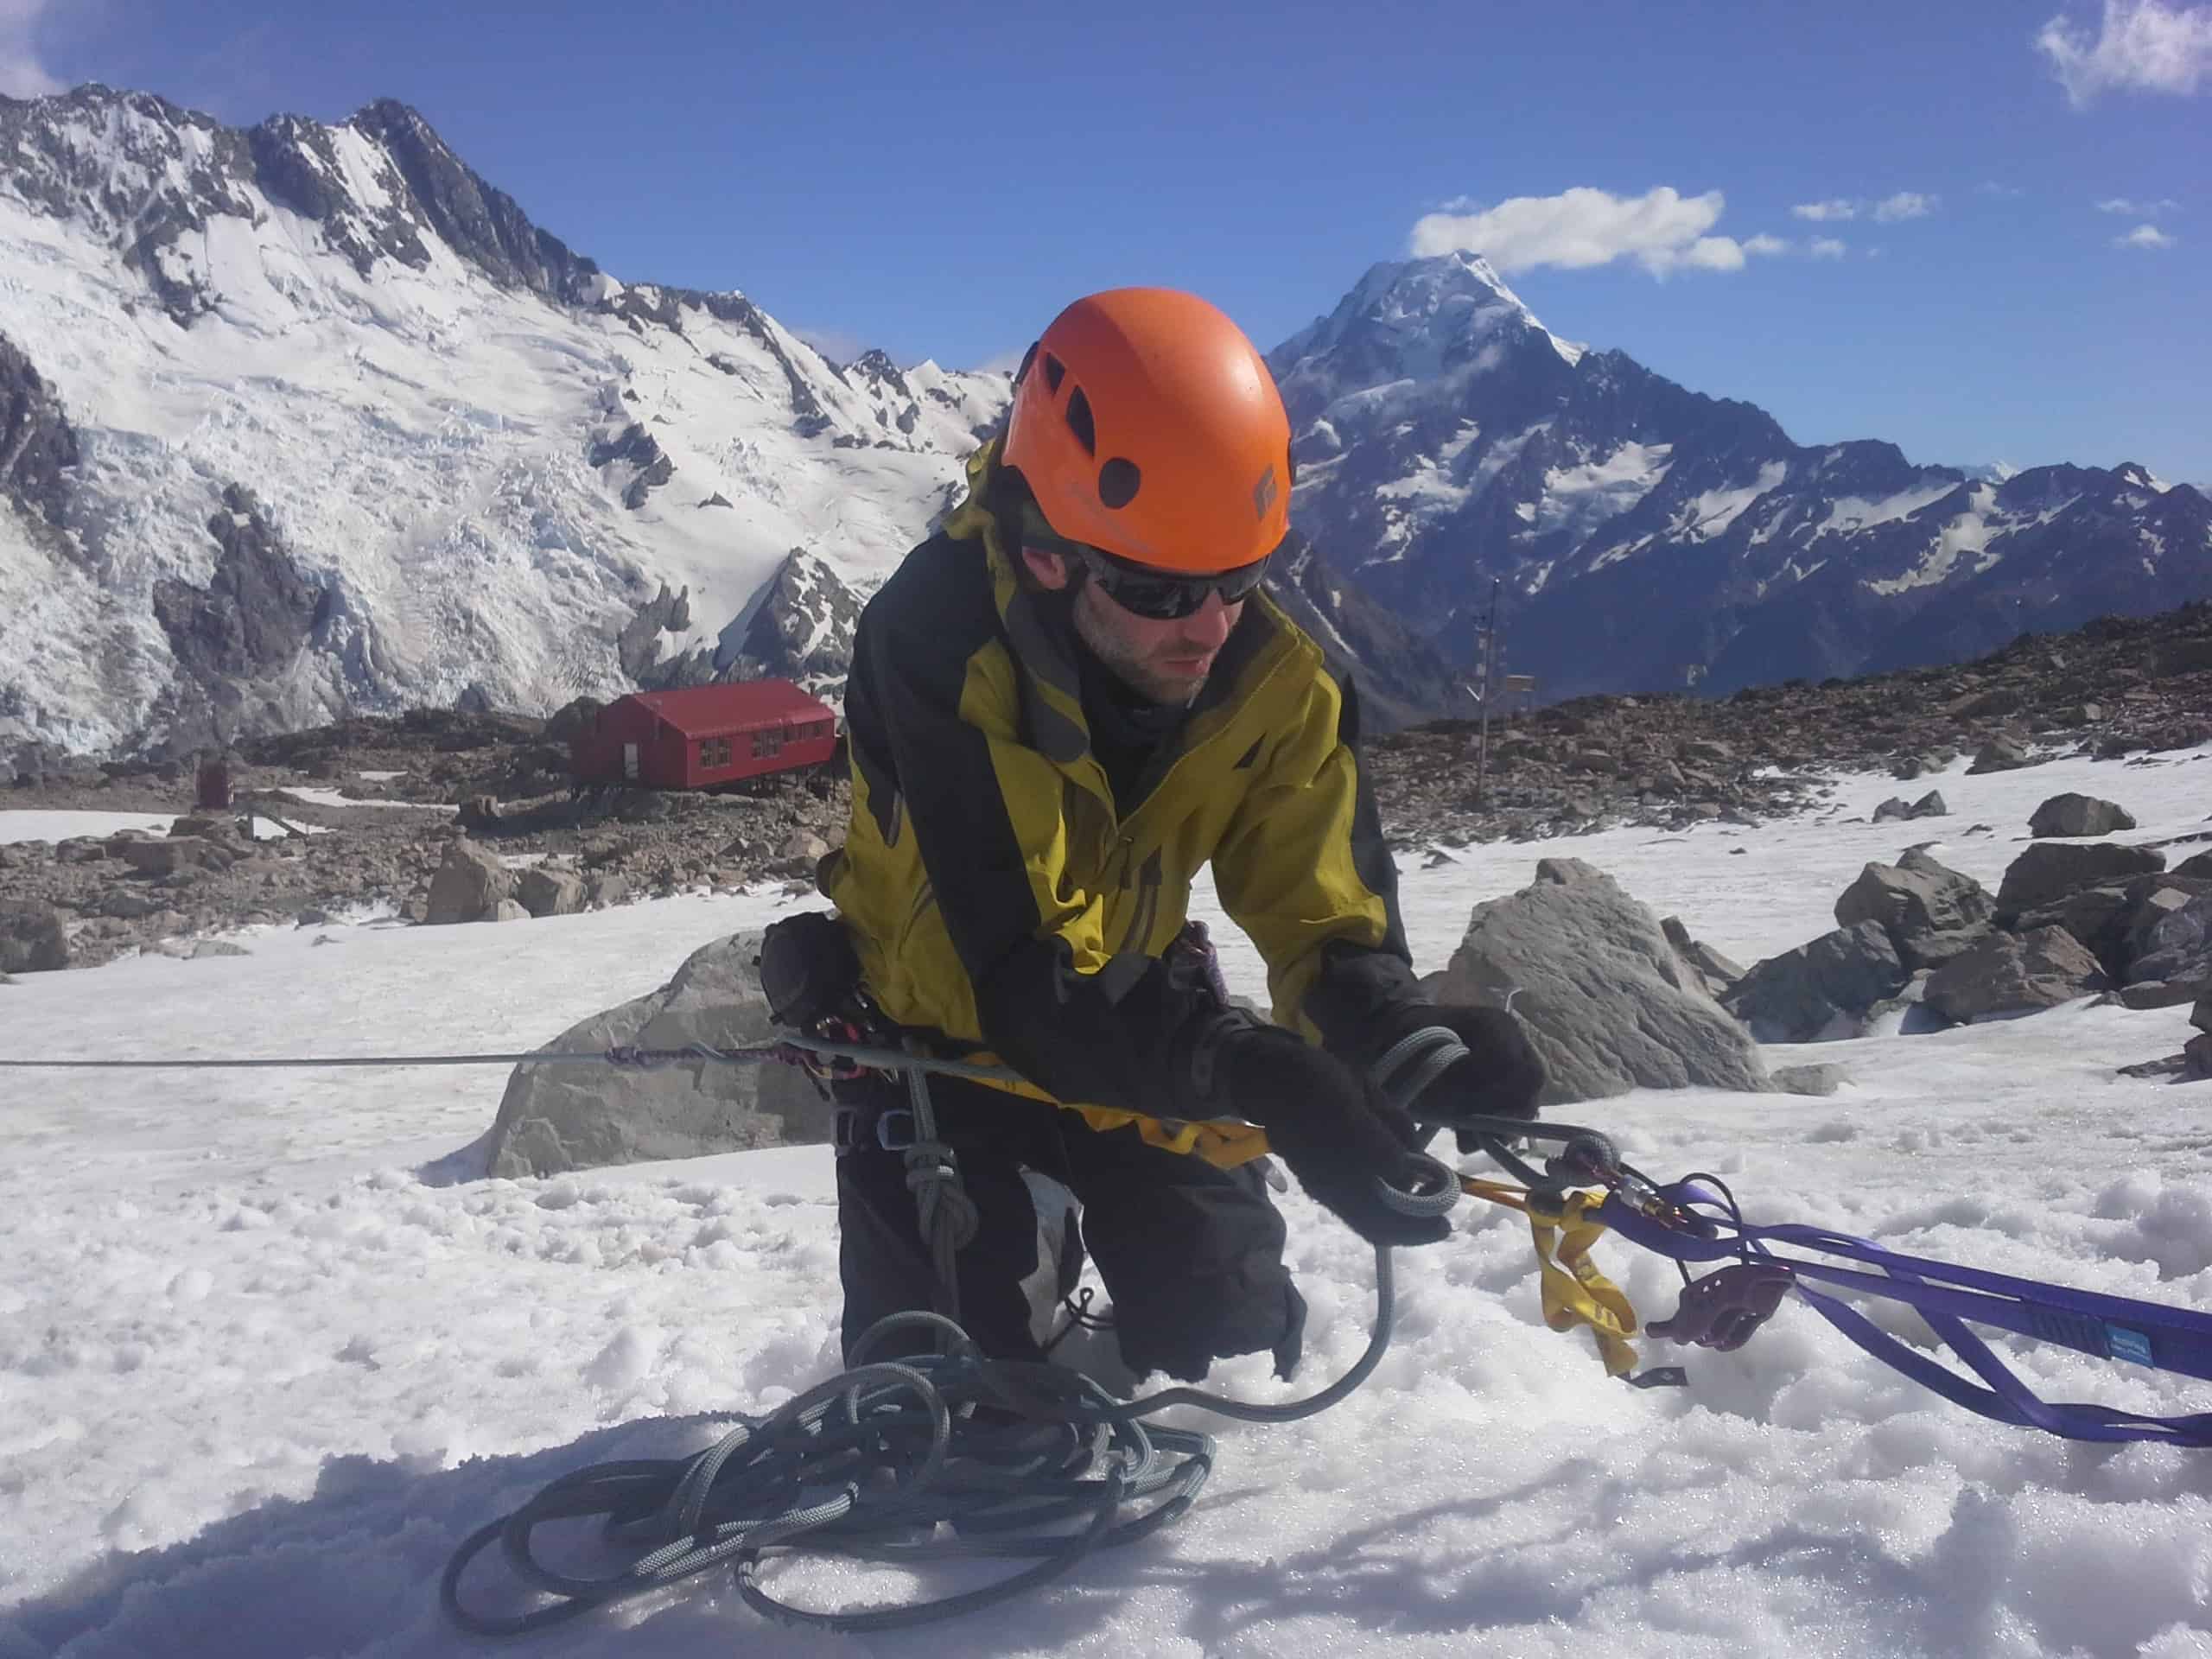
Emergency and repairs
It is highly recommended that all team members have undertaken a first aid course before venturing into the mountains. The duration of the mountain trip and the remoteness of the venture will dictate the size of the carried first-aid kit; it should be kept lightweight and at a
minimum.
A repair kit with extra batteries, and a cable ties, chord for spare shoelaces, multi-tool (eg Leatherman’), hose clamps and pole splints, duct tape, spare batteries for head torches, avalanche transceivers or GPS, wire, sewing kit, air mattress repair kit, and stove repair or service kit.
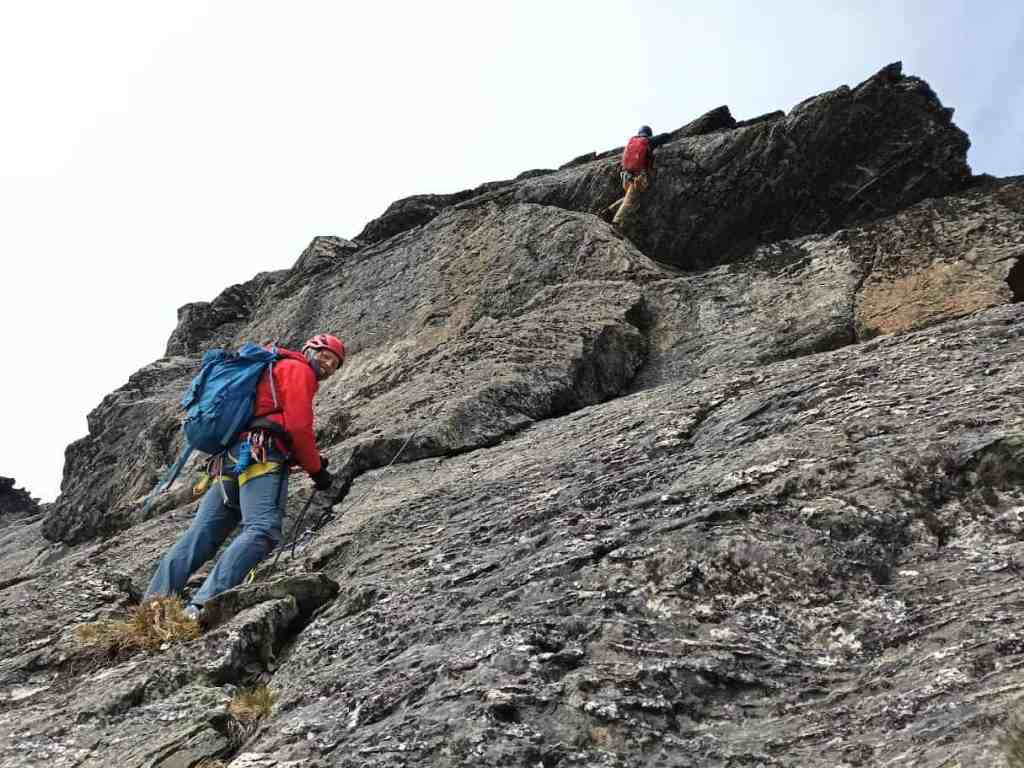
Technical Gear: Ice axes, crampons and harnesses
Choosing technical gear is where the most compromises lie and needs careful consideration of what goals are and how you anticipate using the gear the most.
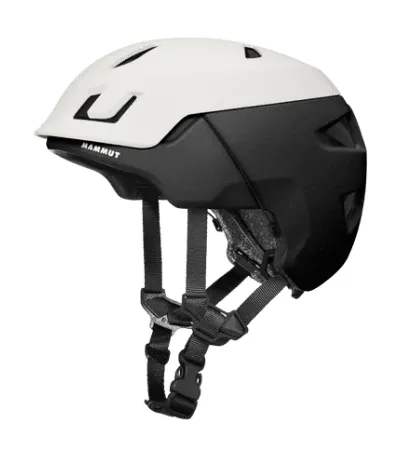
Helmet and harness
For general mountaineering, we recommend a lightweight mountaineering harness such as the Black Diamond’ Couloir. These are very lightweight and have the advantage of being able to be put on easily over crampons. They are however quite specialised so not ideal for rock climbing if looking for one harness that can do everything.
Crampons
For general mountaineering, crampons with horizontally aligned front-points work best, as they are less prone to slice down through softer ice and consolidated snow likely encountered in spring and summer. The crampon binding system must be compatible with the boots. Some brands allow users to change between different binding systems allowing one pair of crampons to be used in a variety of situations. We like the Petzl’ Vasak as the binding can be reconfigured from strap-on to semi or fully-automatic so can be used on softer summer boots through to full shank mountaineering boots or ski boots.
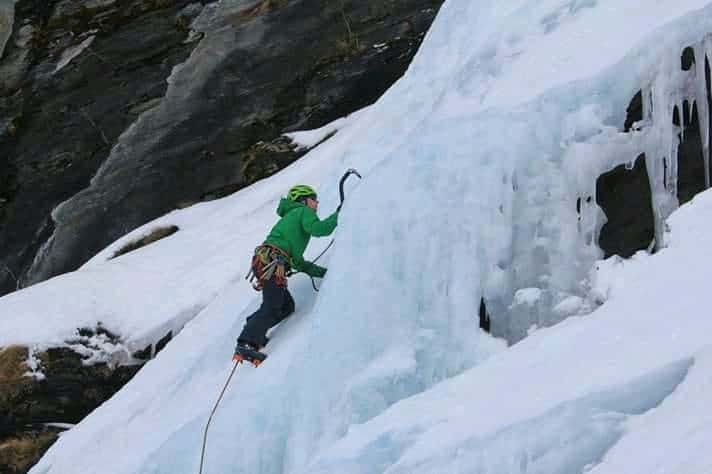
Ice axe
For general mountaineering, a straight shafted ice axe with a classic pick (some models have interchangeable picks) is best for plunging in the snow and self-arresting. A longer axe provides better balance and support on moderate ground, and even the more difficult ascents have approaches and descents where this is helpful. An adze is useful for cutting steps or belay stances.
For steep or firm snow conditions a second axe or hammer is useful, and it is common for this to be a shorter technical tool with a technical rated pick and a slightly bent shaft. A technical pick profile will perform better in firm snow and ice so a useful compliment to a classic ice axe. A hammer is also useful for snowstakes and pitons but an overly technical curved axe will make hammering more difficult. The hammers on some modern tools are small and make hammering difficult, so look for a model with a larger hammer such as the Black Diamond Venom.
Leashes provide more confidence and security on steep ground but are often tucked away on easier terrain. When not being used, leashes must not dangle loosely where crampons could get snagged resulting in a trip hazard. Spinner leashes are useful in technical terrain.
Other gear
No need to go too long or short for ice screws. A mid-range 16cm screw will be ideal for general mountaineering.
Prussik loops can be made from any (roughly) 6mm accessory chord. If you anticiapte using skinnier ropes, you may have to go thinner for enough grip. It is also possible to buy sewn ones such as by Aspiring Safety or the Sterling Hollow Block. These may be slightly easier to use but more expensive.
Any 120cm sling will do. 8 or 13mm Dyneema is lighter for the mountains than nylon or you can also go for sewn cord slings such as the Edelrid HMPE.
Still deciding on a course. Check out our article on how to choose the right New Zealand Mountaineering Course or get in touch with any questions.
Equipment List
| Category | Essential Items | Notes & Recommendations |
|---|---|---|
| Upper Body | Base layer, Mid-layer, Insulating jacket | Merino or polypro (no cotton); Synthetic or hydrophobic down fill. |
| Lower Body | Base layer bottoms, Softshell trousers | Softshell for climbing; Avoid cotton base layers. |
| Outerwear | Waterproof jacket & trousers | Must be seam-sealed and breathable for alpine conditions. |
| Head & Face | Sunhat, Warm hat, Neck gaiter (Buff®) | Include Goggles and Category 4 glacier-rated sunglasses. |
| Hands | Lightweight & Warm climbing gloves | Work gloves are excellent for dexterity/rope work. |
| Footwear | Mountaineering boots & Snow gaiters | Full shank (Nov/Dec) or ¾ shank (Jan onwards). |
| Technical | Axe, Hammer, Crampons, Helmet, Harness | Can be provided by Wanaka Mountain Guides. |
| Hardware | Carabiners (4-6), Belay device, Prusiks | Black Diamond ATC Guide®; 120cm sling; Ice screw. |
| Overnight | 2-season sleeping bag, Head torch, Liner | Include spare batteries, toiletries, and hut shoes. |
| Accessories | 50L Backpack, Water bottles (1.5–2L) | Pack must have ice axe attachments; Nalgene recommended. |
| Recommended | Progress Capture Pulley, Spare clothes | e.g., Petzl Microtraxion®; Towel for after-trip. |
Frequently Asked Questions
What is the difference between 3/4 shank and full shank boots?
Full shank boots are completely rigid, making them essential for technical ice climbing and front-pointing. 3/4 shank boots have a slight flex, offering more comfort during long alpine approaches while still being stiff enough for general mountaineering and semi-automatic crampons.
Do I need to buy my own technical climbing gear?
No. For all Wanaka Mountain Guides courses, we can provide the essential technical hardware, including ice axes, crampons, helmets, and harnesses. We recommend investing in your own high-quality footwear and clothing first.
Why are Category 4 sunglasses required?
The New Zealand alpine sun is exceptionally intense due to high UV levels and snow reflection. Category 4 sunglasses block 92% of visible light, protecting you from "snow blindness," which is essentially a painful sunburn on the surface of your eyes.
Is merino or synthetic better for base layers?
Merino is excellent for multi-day hut use as it resists odors and stays warm when damp. However, synthetics dry faster and are often preferred for high-exertion climbing. Avoid cotton entirely, as it stays wet and can lead to rapid cooling.