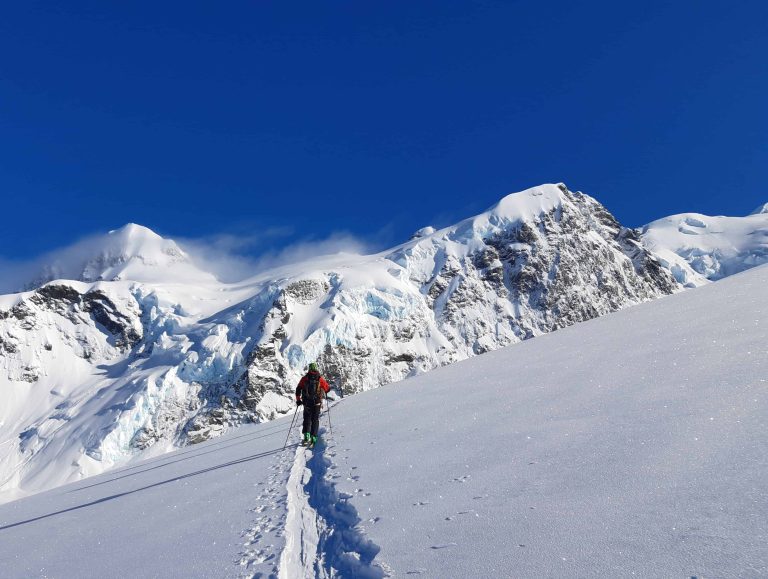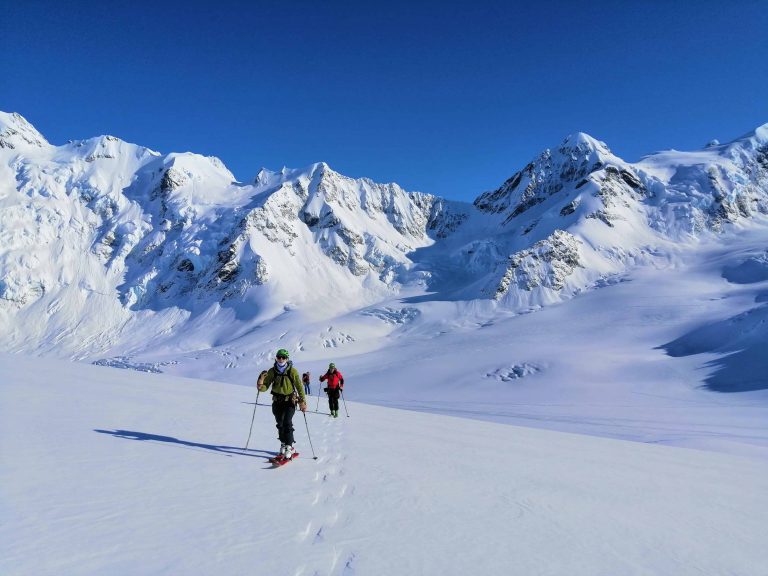
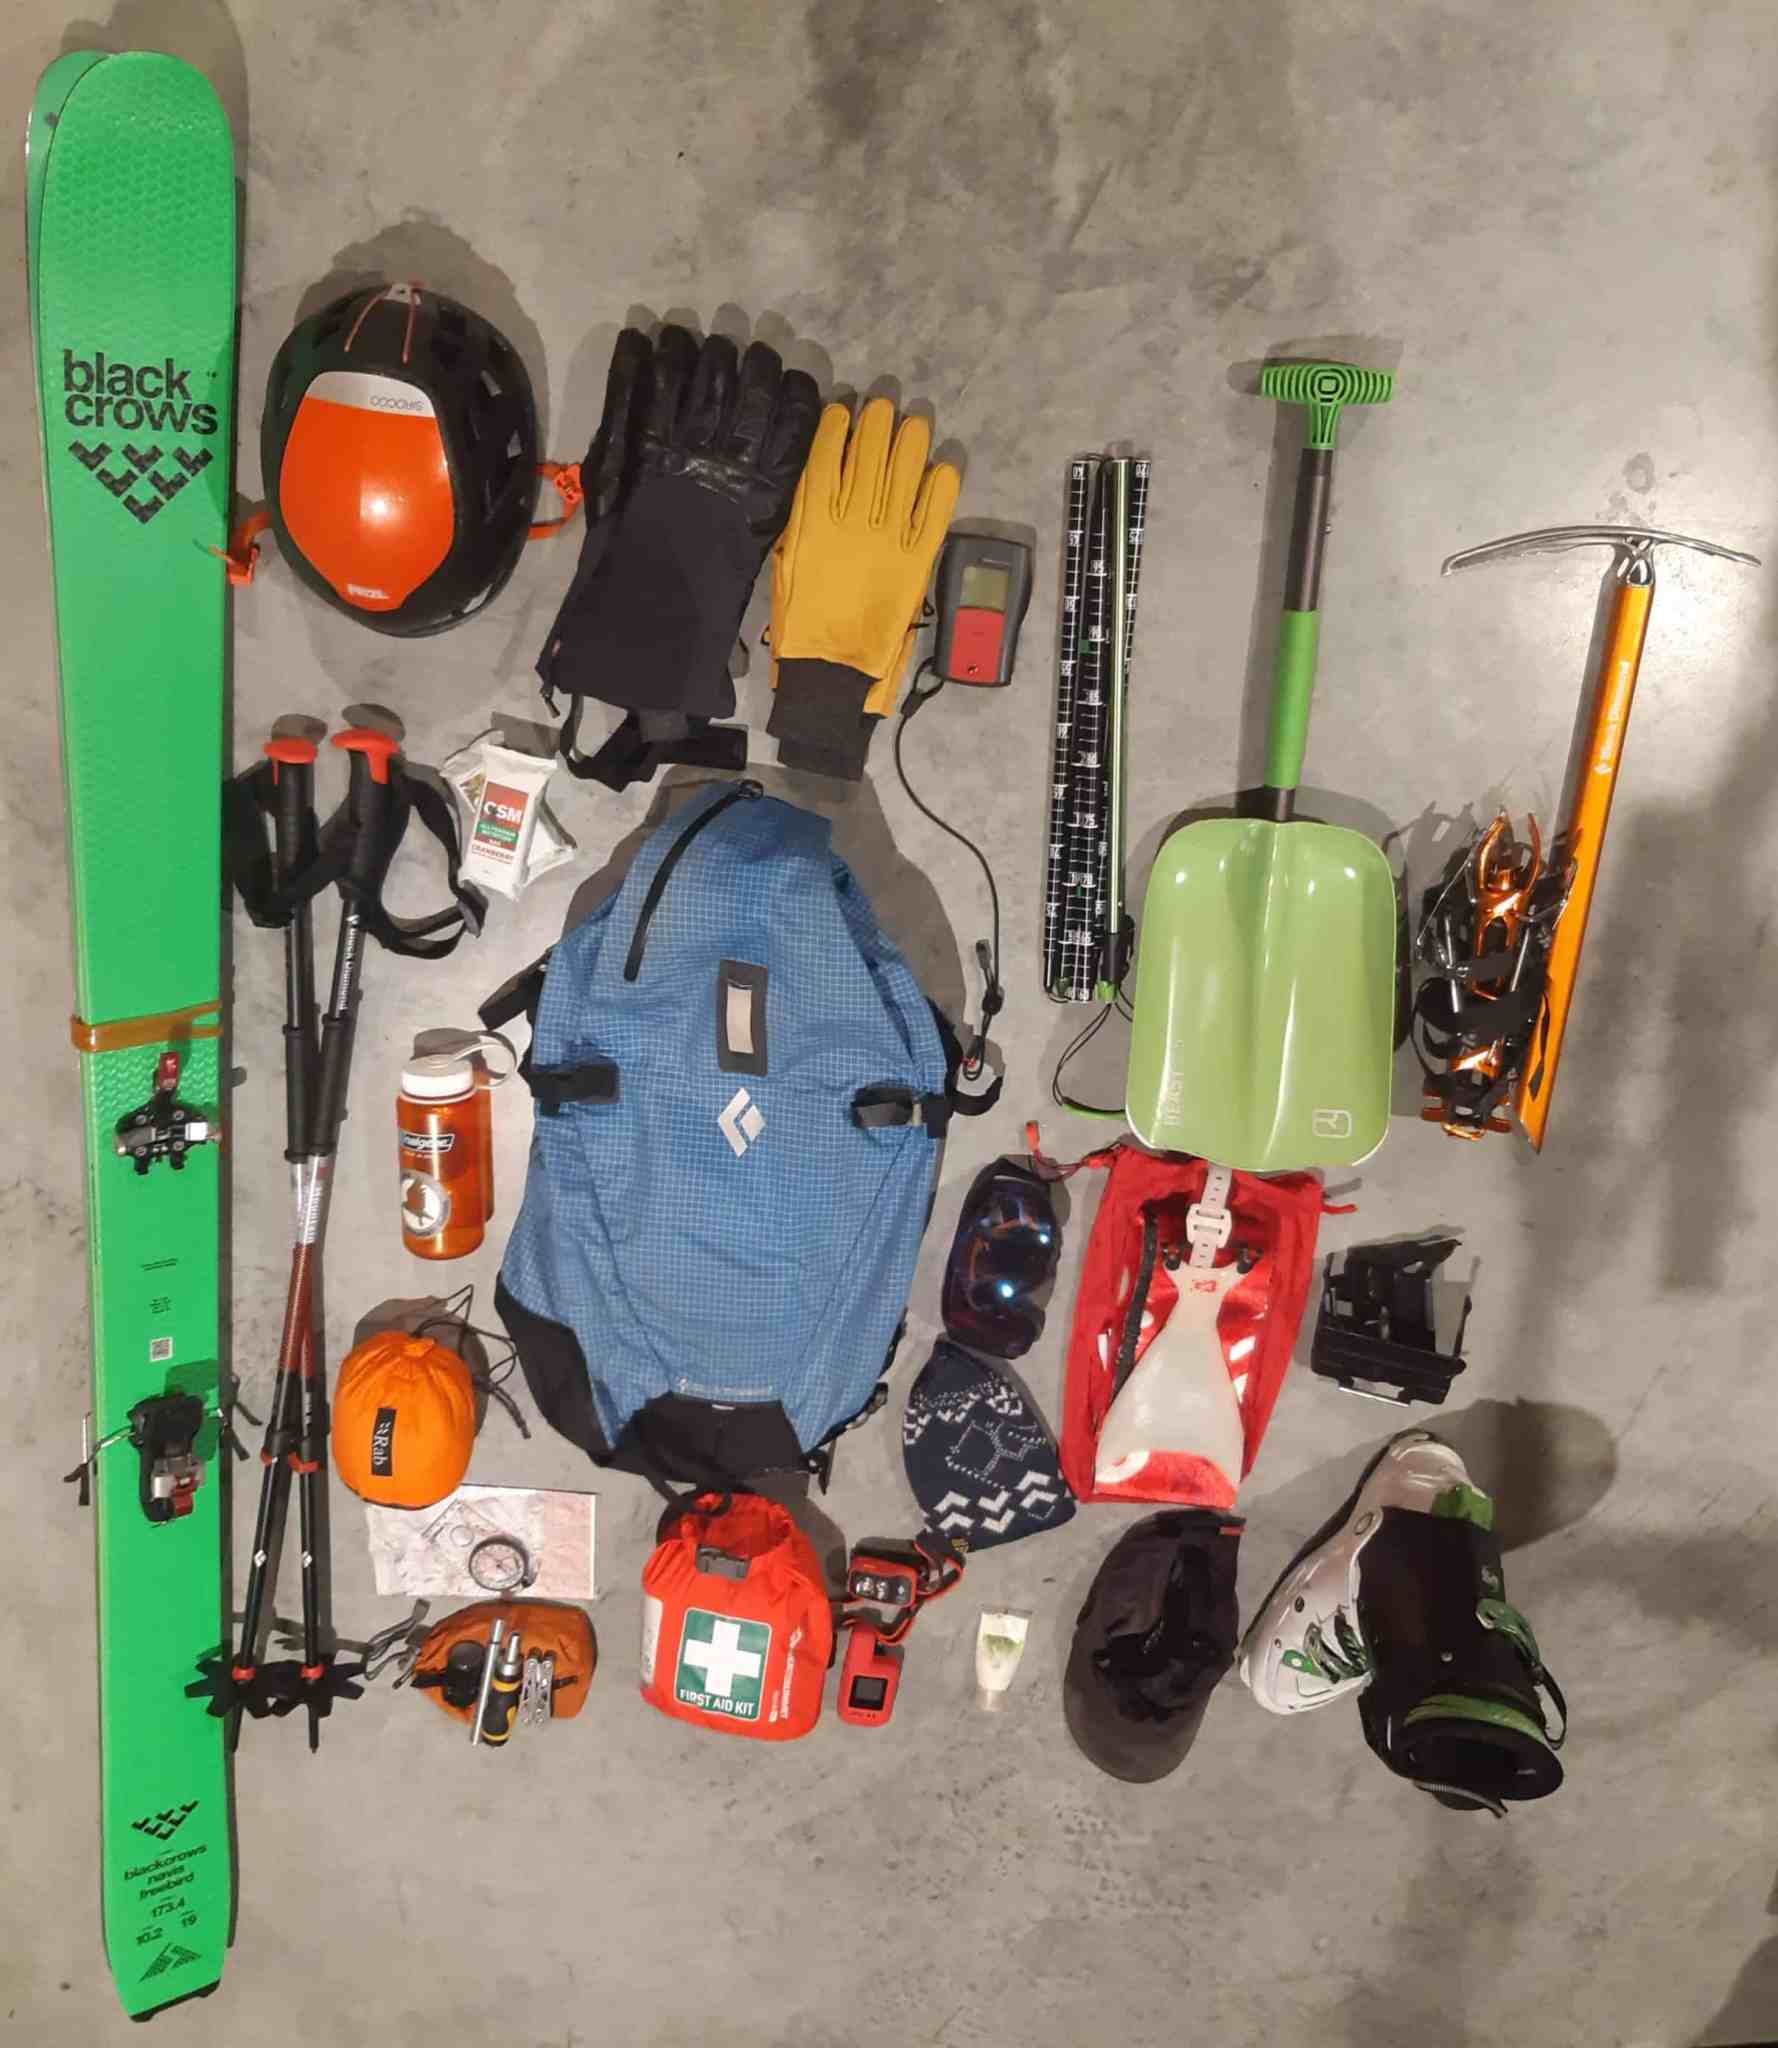
Packing for a Glacier Ski Tour
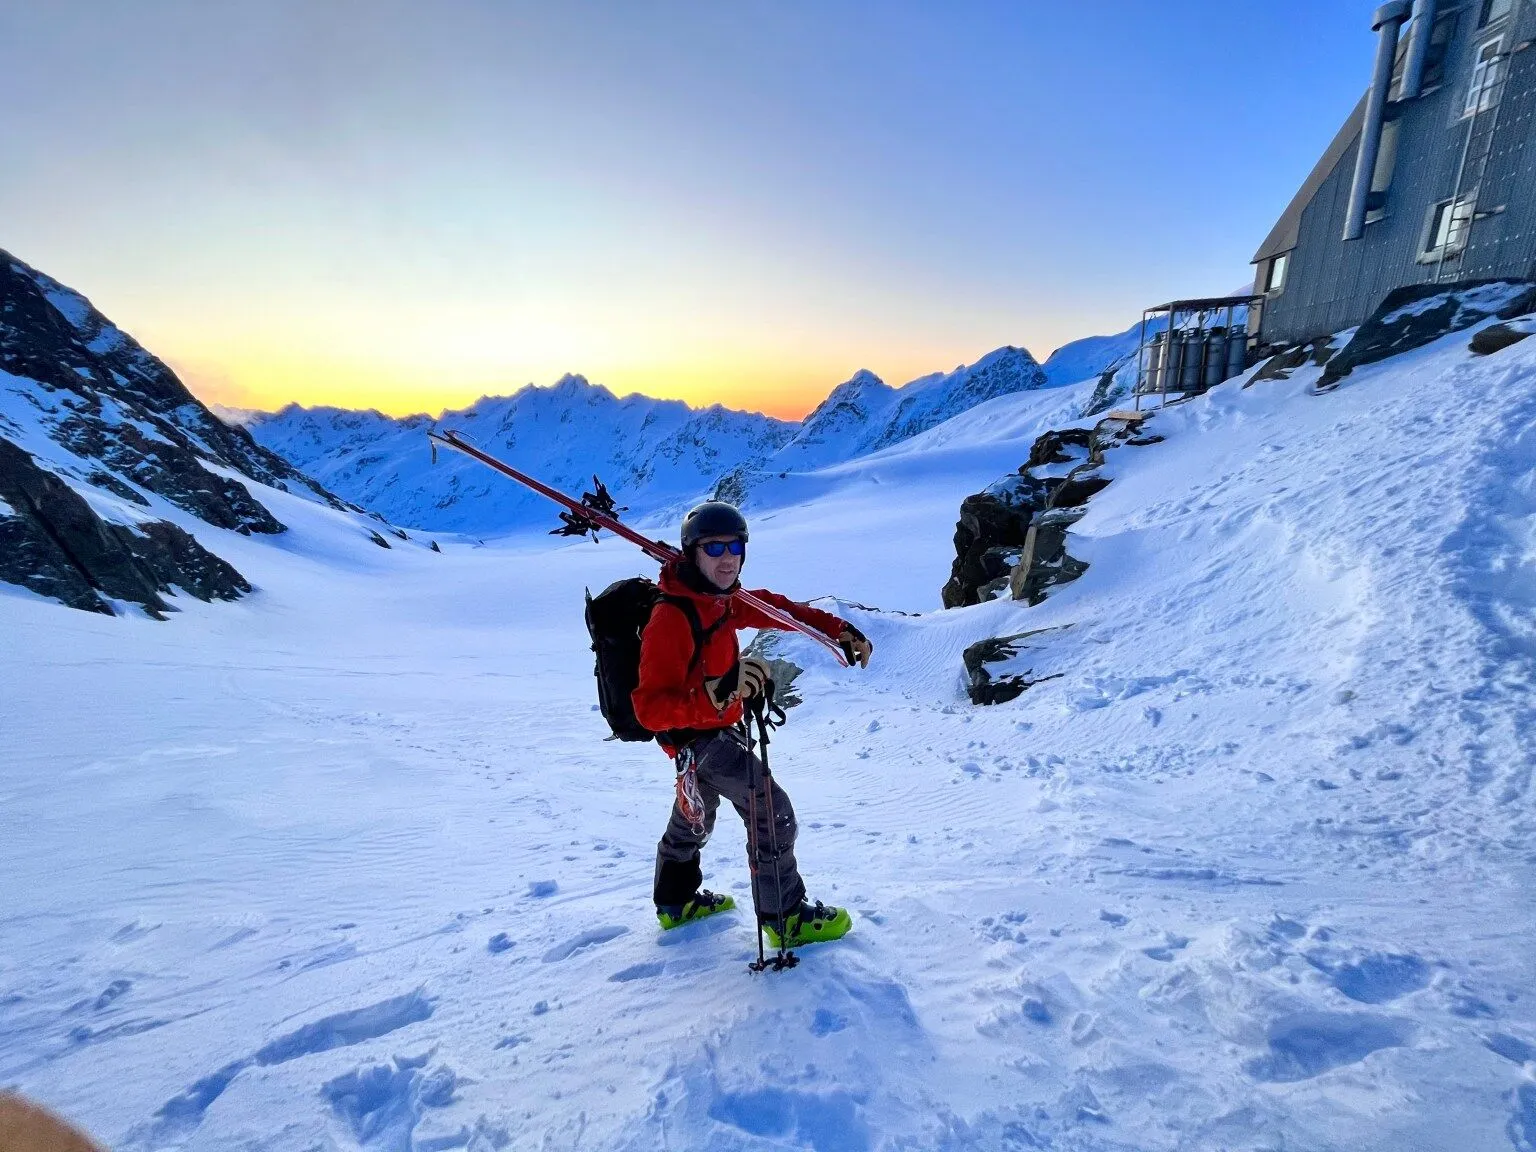
For most trips, you will helicopter into a high alpine hut from where you will be based for day tours. These huts are relatively basic with mattresses on alpine style bunks and cooking equipment. You will need to carry all your equipment (and food supplies for the trip) from the helicopter landing site to the hut. At the end of the trip, you may ski down the glacier to a lower pick-up and will need to carry all your overnight gear.
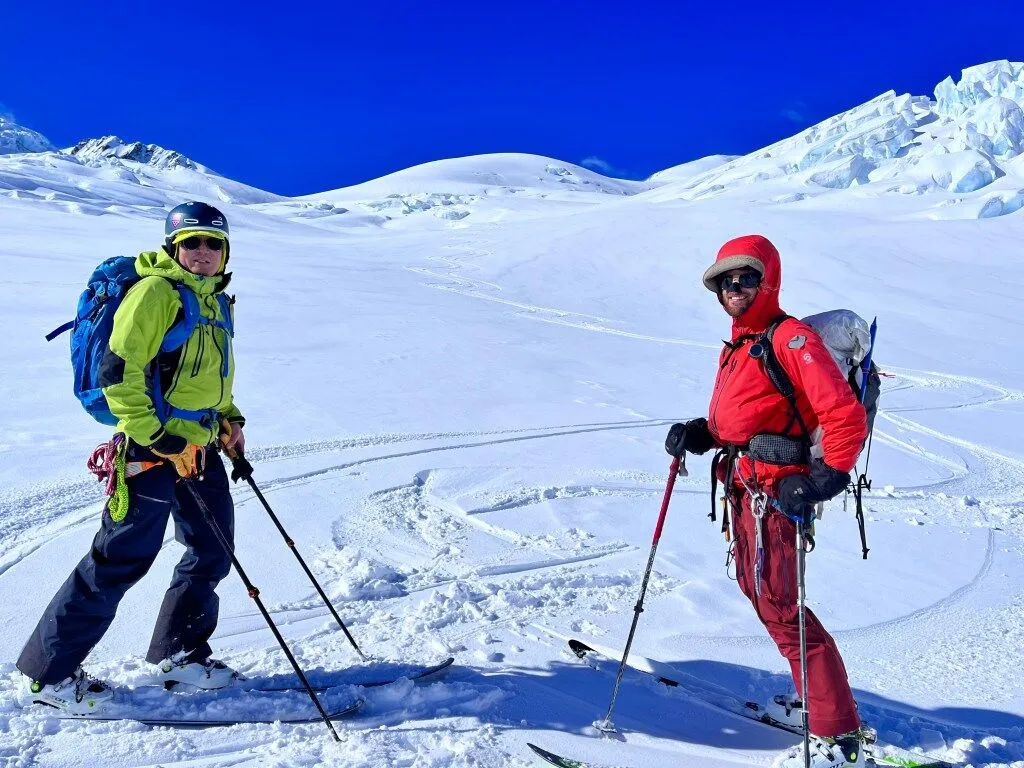
1. Clothing and Layering
New Zealand’s alpine environment can throw all four seasons at you in a single day. Layering is your go-to strategy.
Base layers (next to skin): Avoid cotton, which absorbs moisture and can make you cold. Merino works best in cold and dry conditions as it can be slow to dry. Not ideal for sweaty uphills, especially later in the season. Technical wicking materials work best for out and about during the day. I like to change into Merino layers about the hut and sleeping. The Rab® Force Hoody is a favorite amongst mountain travelers throughout the year with added hood sun protection.
Mid-layers: Lightweight fleece, windproof, or lightweight synthetic Insulated layers. Wool is heavier and takes longer to dry. Layered fleece is bulky and restricts movement. The Macpac® Pisa Jacket is a favourite among our guides.
Insulation: A good insulating layer is good for breaks, other enforced stops, and evenings. It should have a full front zip and a helmet sized hood is useful. Slightly oversized is good to fit over the active wind- or waterproof layers. Synthetic-fill insulation (such as Primaloft®) or hydrophobic down are best as they maintain their performance even when wet.
Waterproof jacket: A high-quality hardshell jacket with a hood, offering full protection from wind, snow, and rain. Look for features like pit zips for ventilation.
Jackets should be lightweight without any excessive features, mesh, or insulating lining which will be hot and heavy. Downhill ski and snowboard jackets and pants will be too warm for touring.

Waterproof pants: Hard or softshell pants that fit comfortably over your base layers, ideally with side zips for easy venting.
If packing softshells, you may also pack lightweight waterproof over-trousers for putting on in wetter conditions. During cold conditions, thermal leggings can be layered underneath. High waists or bibs, and braces are good for keeping out drafts and snow but less practical for bathroom breaks.
2. Essential Accessories

Gloves: Good quality warm gloves are essential at all times. They can have a waterproof insert (eg Gor-Tex®) of just softshell but they need to be windproof and well insulated. Leather palms provide the best grip, good longevity, and dexterity. Totally leather gloves are heavier and can be slower to dry out.
Light gloves are useful for wearing uphill, or fiddly transitions where more dexterity is required. You can choose dedicated touring gloves or even cheap ‘work’ gloves from the hardware store. Warm gloves or mittens can be kept warm inside the jacket or pockets during the uphill and changed into whilst stopped.
Headwear: Warm beanie for warmth when stationary or in cold conditions. A sun hat or cap is essential for sun protection. A brimmed hat during ascents. A neck gaiter or Buff® is versatile for warmth, sun protection, and wind.
Eyewear: High-quality sunglasses (Category 3 or 4) are crucial for bright sunny days on the snow to avoid snowblindness. Full wraparound or side- (and even nose) shields help block out the harsh UV. Polarised lenses don’t work great for definition on snow surfaces and may not work with screens (phones and transceivers). Ski goggles are essential when you are out in snow, wind, and flat light. Also as a backup for lost or damaged sunglasses.
3. Footwear

Ski touring boots: Modern plastic shell boots designed for AT (Alpine Touring) offer a flexible range of motion for uphill travel and lock in for downhill performance.
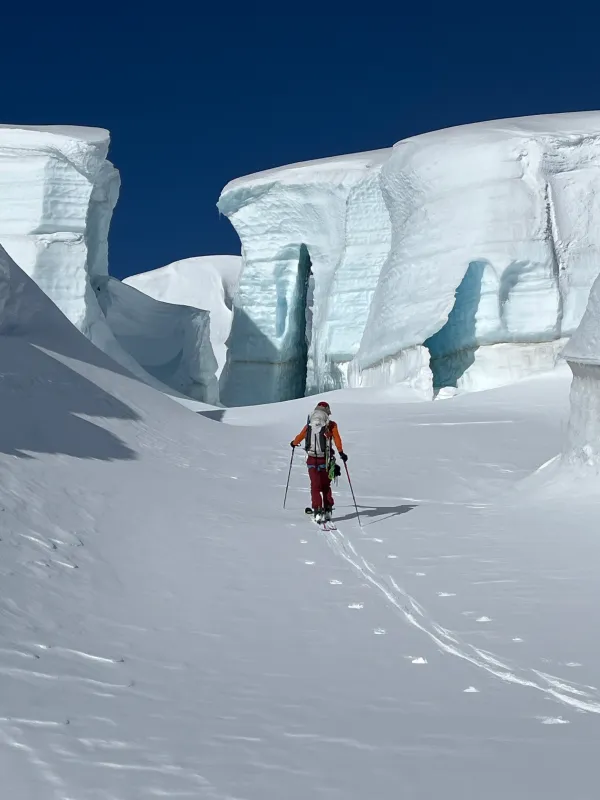
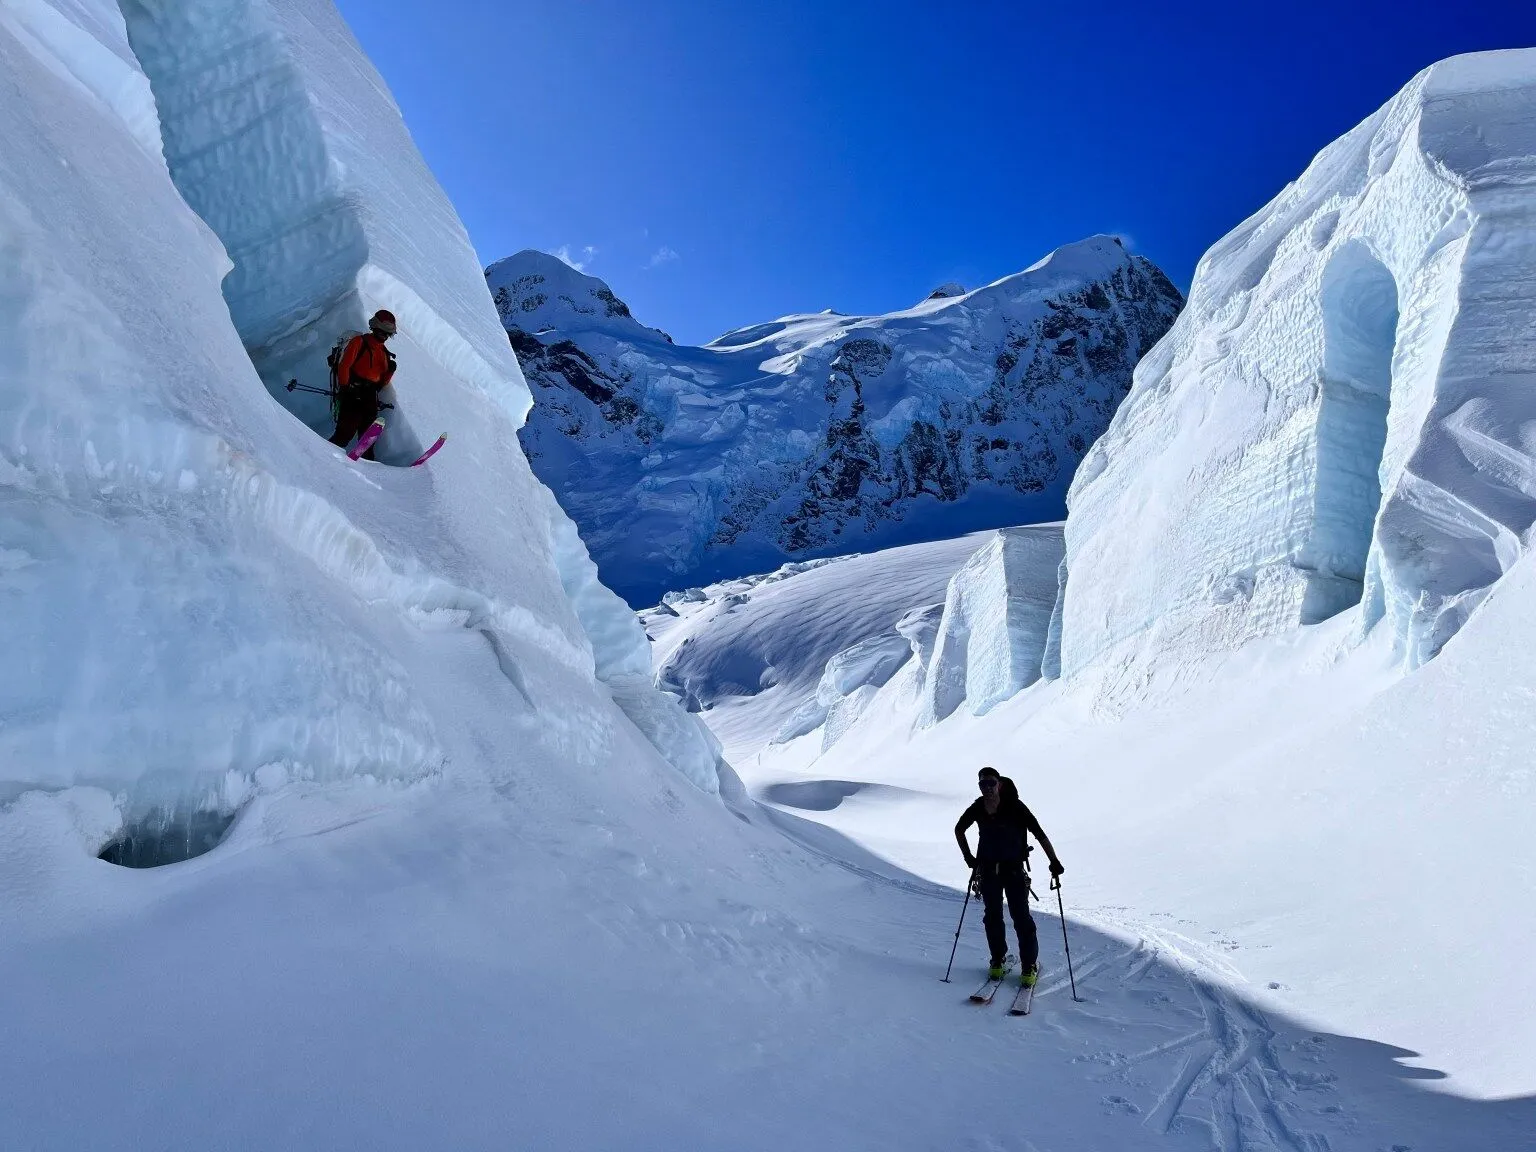
4. Technical and Safety Gear for Glacier Ski Touring
We won’t get into standard touring and avalanche safety gear here, just the extra bits that you will have for glacier travel and rescue.
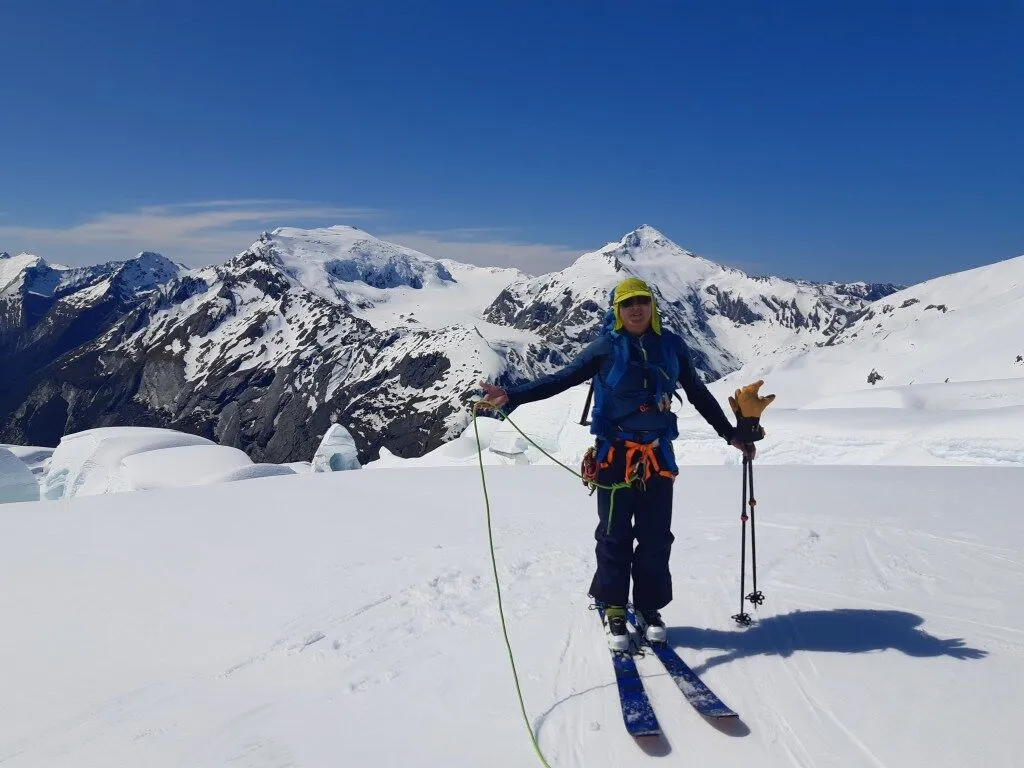
Harness: Lightweight ski touring alpine specific harness. You will be wearing these at all times when on a glacier and may rope up if traveling through complex sections of the glacier or when visibility is poor (it’s the crevasses that you can’t see you have to worry about). A lanyard on the belay loop is also good to have. This allows you to anchor in quickly (see Glacier Travel and Crevasse Rescue).
Ice Axe: Lightweight walking axe, 50 to 60cm long with classic shaped pick that is suitable for self-arrest).
Crampons: Depending on the objective you may have alloy crampons, for occasional or emergency use, or steel crampons, if the trip has more of a mountaineering focus and you anticipate climbing steeper snow and ice.
Rope: There will be two ropes within any glacier touring group. This is to ensure that a rope is available on the surface if the other rope if the other ends up in a crevasse. One maybe a lightweight hyperstatic cord like the Petzl® Radline or Edelrid® Rap Line Protect. A dynamic half/twin or single rope gives you more options for any other roping that you may encounter. Everyone in the party should be clear on crevasse rescue procedures. Fortunately, in a large group, this is much easier than small climbing pairs.
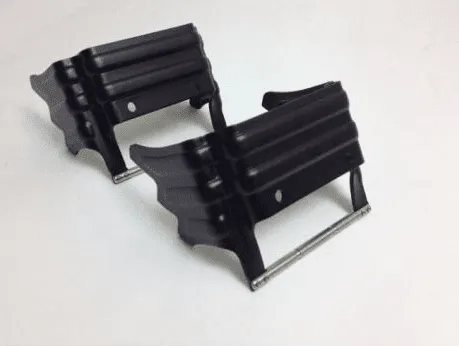
Ski and splitboard crampons: They may never leave your backpack but if you need them, you will definitely need them. Anticipation is key. A plastic ice clipper or carabiner is useful to attach them to you gear loops or backpack. This makes them handy if you think you may need to use them. You won’t have to empty the contents of your backpack out on the side of the hill to reach them. If you have them on in firm conditions, you should have your helmet. Also have an ice axe handy for improving the track and stances for turning or transitions.
Ski or splitboard crampons are highly specific to the binding so don’t leave sourcing them till the last minute.
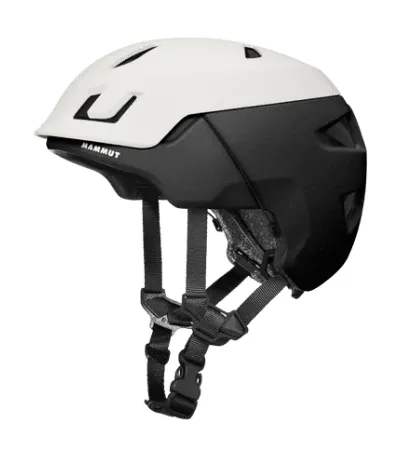
Helmets have become a standard piece of safety equipment for glacier skiing. Downhill ski helmets are often too warm for wearing uphill so need to be carried in or on your pack. Some helmets now come with a ski touring rating or are dual-rated for ski touring, mountaineering, and even cycling. Purely mountaineering rated helmets are designed to deflect falling ice and rocks from above. Although better than nothing, they do not provide the same level of side protection as dedicated skiing rated helmets.
5. Overnight and Hut Essentials
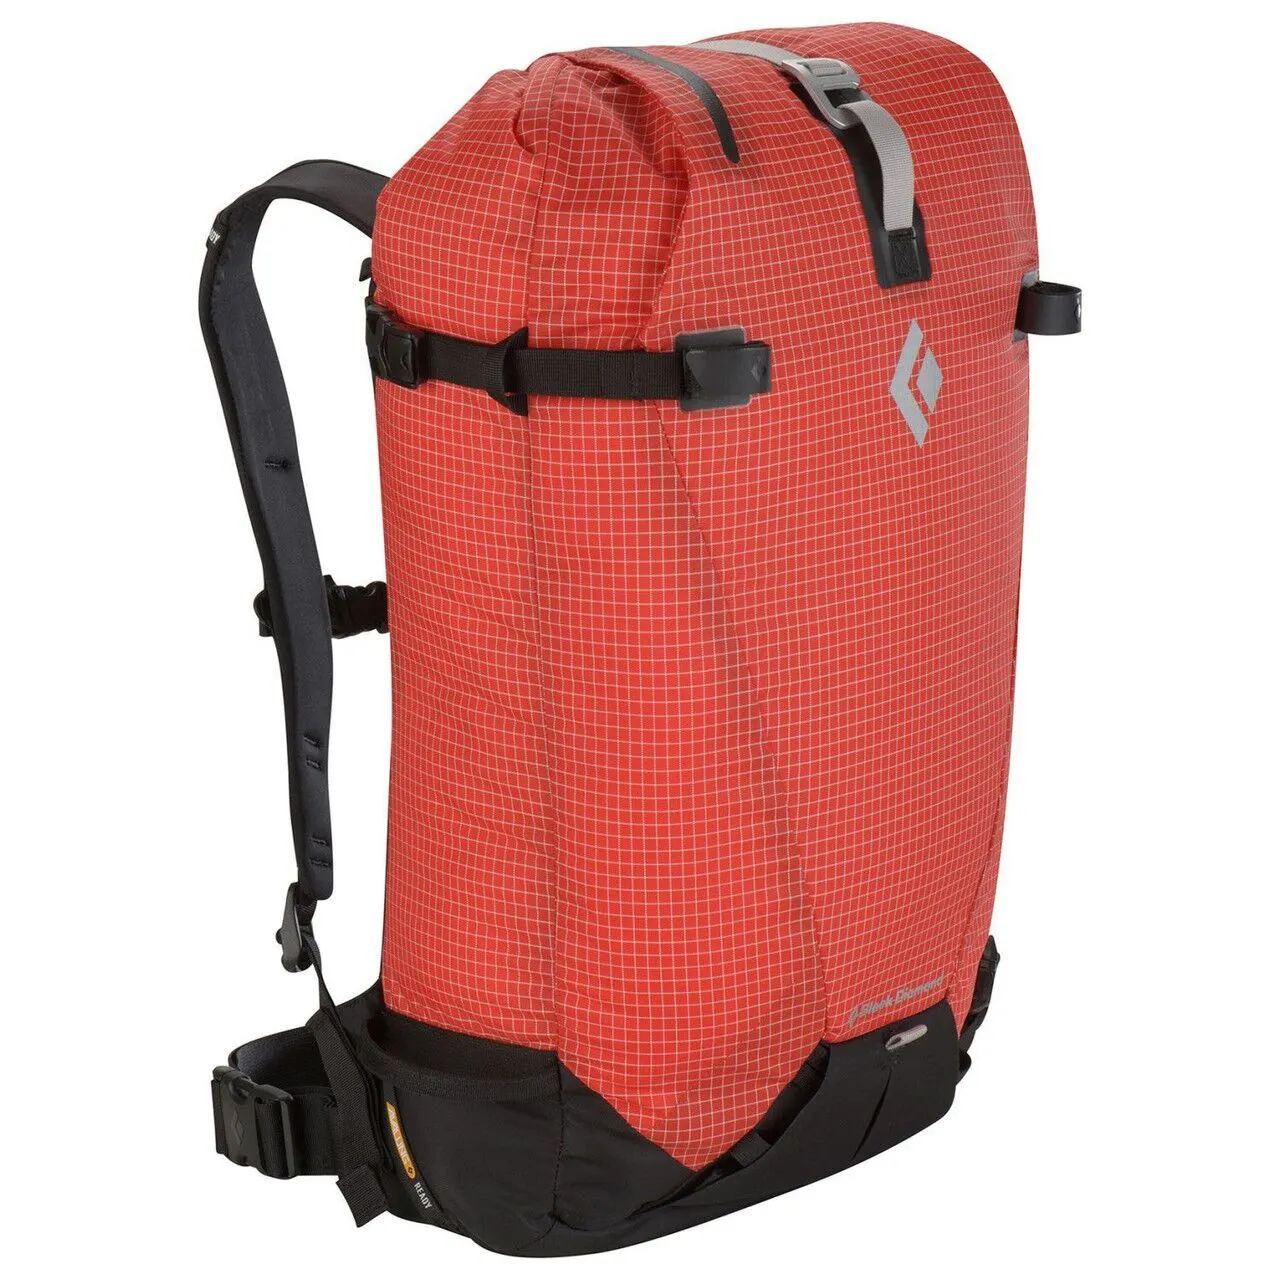
Finally, you’ll need something to put all your equipment in. A dedicated touring pack with a separate avalanche tools pocket is worth the investment. This allows for good organisation and to keeps the main contents of the pack dry. Other useful features are ice axe attachments and a helmet pouch.
Most pack manufacturers don’t produce a pack large enough the Kiwi style of ski touring. Although you can take a pack large enough to carry everything, it’s less than ideal to ski around with during day trips. Some work arounds include bring a separate day pack (more to carry on the way out). Popular amongst Kiwi Guides is a system of having an overnight ‘module’ that straps onto the bottom, top or back of the pack, and then left at the hut. This could be a heavy duty dry bag or fabricated pouches made by businesses like Robo-Kiwi.
Hut shoes, slippers or booties: Ski boot liners can be used around the hut in the evenings. When you’ve been strapped tight in them all day or if they are a bit damp, then having a lightweight, and comfortable shoes, slippers, booties, or Crocs® are nice to change into. Don’t be lazy though and change back into your boots for visits to the bathroom.
Sleeping Bag: There is no heating in the huts and you should expect temperatures down to around -5degC at night. In a busy hut it may be much warmer. A sleeping bag liner for hygiene and to enhance the longevity of your bag.
Hut clothes: Some dry base layers to change into at the hut. Remember your active layers are unlikely to dry unless you are wearing them or have them in your sleeping bag.
Toiletries: Minimal, travel-sized toiletries. Just enough for the duration of the trip. Personal medications, blister treatment (prevention is better than cure), pain relief.
Headlamp: With fresh batteries and spares. Most huts have USB charging facilities for small electronic items so you should be able to recharge torches during the trip.
Water bottles and hydration: At least 1 to 1.5 Litre capacity. Wide mouth Nalgene® bottles that can take boiling water double up as hot water bottles at night. The 0.5 Litre versions with can also fit into the cuffs of boots to work as boot warmers on those cold mornings. Combine these bottles with a an insulated neoprene sleeve, and you have an (almost) flask for warm drinks on the hill. In cold conditions, it’s hard to drink enough water as you should. Having warm drinks with you (even if they may only be luke warm by the time you drink it), and with a bit of electrolyte for flavour, helps you to keep hydrated.
Packing strategically is key to ensure you have everything you need (and not too much of what you don’t). Most importantly to ensure that you are comfortable if you have to travel with a full overnight pack of gear.
Our group Glacier Ski and Splitboard Tours kick off mid-August. From here on crevasses are generally filled in allowing good travel, skiing and riding. From then, good conditions can be encountered all the way through to late October and even early November.
After a cold storm, that can happen at anytime during the season, you will hopefully experience excellent powder skiing. Later in the season, and longer after any top-ups of snow, it’s all about the spring skiing. Relaxed mornings waiting for the snow to soften, sunny corn runs, and relaxing afternoons on the hut deck.